There are lots of articles out there that explain diffused flash ad nauseum. I’m not going to get very fancy here, but I have a pair of shots I took some weeks ago that I think illustrate the value of diffusing your flash better than most comparisons I have seen.
So I had to photograph a broken SD card to send to PNY for a replacement. See my previous article for pictures of the very satisfying replacements.
I used the GM1 as it is always handy and it focuses close enough to do justice to almost any product shot. And the kit lens is wicked sharp.
I shot a flash image that turned out ok …
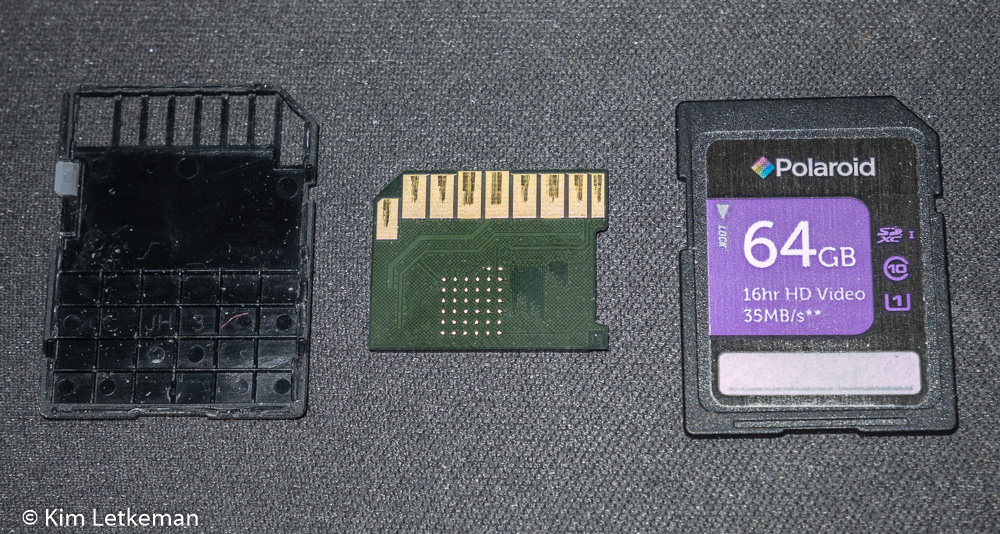
The image is sharp and detailed, but the washed out and flattened tones are unpleasing to the eye. The reflective surfaces cause serious problems, but even surfaces that should not be all that reflective – the palm rest on which the pieces sit for example – are washed out. All in all, I thought I could do better.
I thought about how to diffuse the flash and decided to go old school. I grabbed a sheet of inkjet paper out of the printer and held it awkwardly to block the flash completely, but angled in a way that would catch a lot of light on much of the sheet. This had the effect of creating a very low power but huge lit area very close to the subject. And the result is magnificent when compared with the above … at least in my opinion.
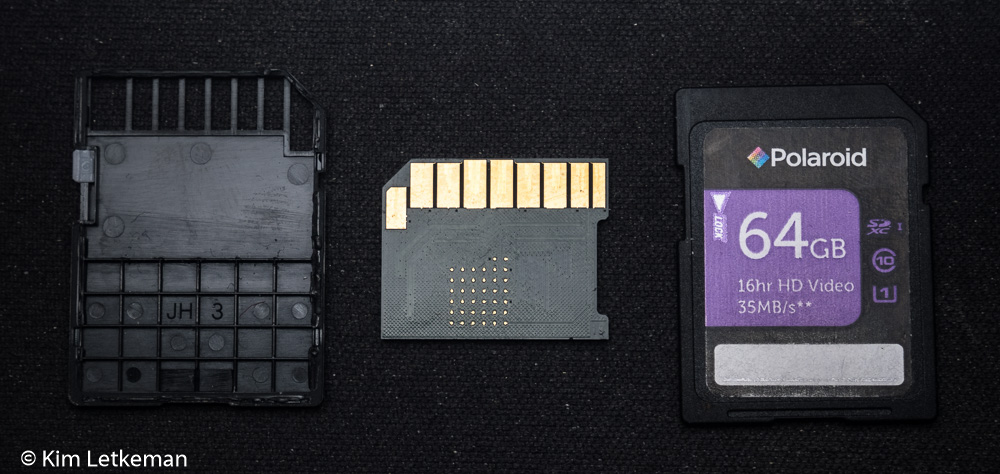
Pretty hard to argue with that, although the more direct angle should have been a bigger issue than the more “angled angle” above :-) yet was no problem except on the contacts on the actual chip, which of course reflected the light back at similar intensity. But I’ll take that on most subjects, since the overall lighting is so much more pleasing.
This is why we bounce our flashes or put some form of diffuser on. Or shoot through a translucent umbrella etc. You will not regret modifying your flash in this way.