Yes, this is the politically incorrect blog that recognizes that I was brought up to enjoy the Christmas season. I do my best to call it the holiday season when wishing people a “good holiday” and such at the office, but that’s not going to cause me to call one of these a “holiday tree” … sorry, but that’s just not on.
So please don’t take offense at the subject matter … it’s just a fake Christmas Tree with some LED lights on it. No ornaments except for the Christmas Piranha, visible just below the level of the mantle and just in a bit from the right edge. Jon insisted that it has become a tradition now and he went and got it and placed it into the tree. Such is how important family traditions are forged. In this case, they can be forged in blood should you reach into the tree without seeing the Piranha lying in wait :-)
And so … how should you shoot your Christmas Tree (or whatever you might choose to call something that might be lit in your home at this holiday time of year) … that last part is textbook “throw the readers a bone” should you be confused at my change of tone.
I digress …
I like to shoot from a tripod. I like to slightly overexpose, as I like the room lit and I like to see some level of glow from the tree.
With small sensors, you have to be pretty careful, as it is easy to blow the highlights and wreck the shadows. The softest tone curve helps, as does bracketing. In this case, I performed some ISO bracketing just so you can see that shooting at higher ISO to hand hold images is not actually a serious fault. You can get a nice image for the web that way.
A note before we get further into it: I shot these in RAF + JPG but used only the RAFs so that I could equalize the images.
So at 1000 ISO, the XQ1 does a pretty decent job:
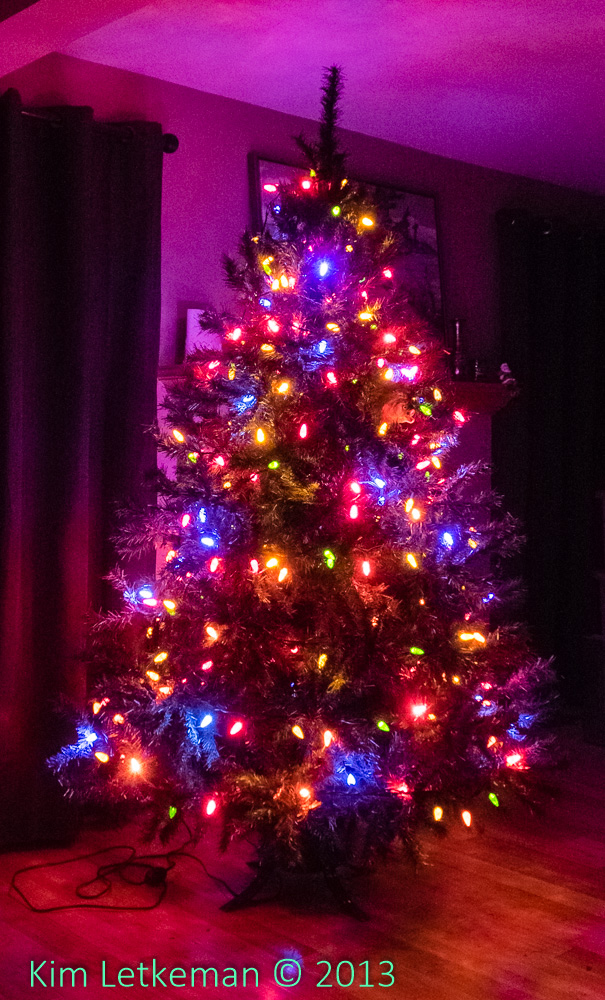
fuji xq1 9.7mm 1000iso f/4 1.0
Note the 1s exposure time. So at 1000iso, we’re still not getting much relief. Even at 3200 ISO, we’ll be at 1/3s and thus not hand holdable. bracing the camera on something will work, but seriously consider getting a cheap tripod if you don’t have one. You will be glad you did.
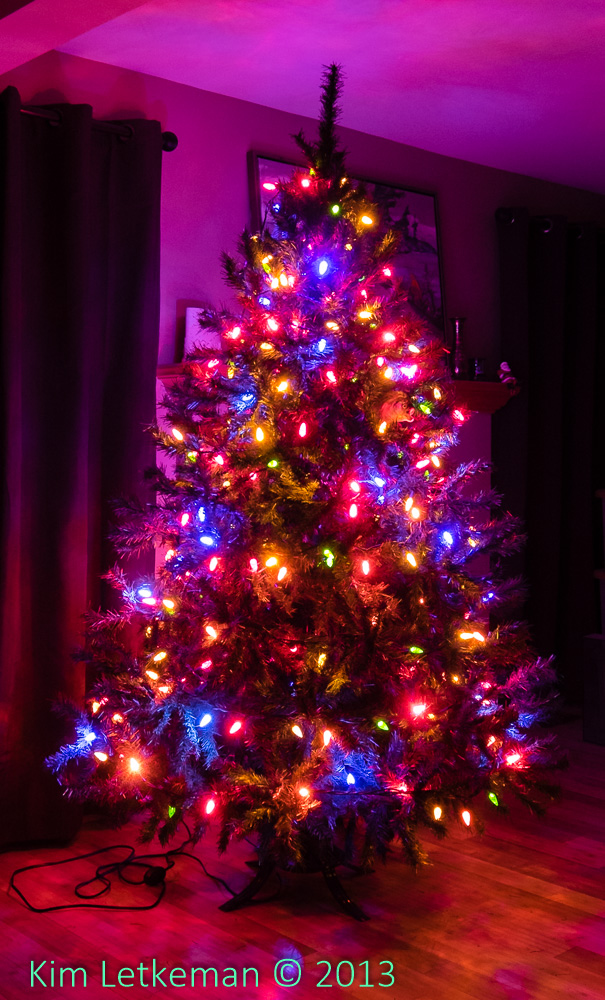
Without moving the tripod, I dropped ISO to 400 and reshot.

fuji xq1 9.7mm 400iso f/4 2.5
The only other change was that the camera chose 2.5s as the shutter speed. This is exactly the number you would expect since 400*2.5=1000 (it really is that easy with shutter speeds and ISO.)
And then I dropped it to 100 ISO and the camera dropped it to DR100 in response. (I’ve mentioned in the past that I always shoot DR400 when possible and this has not changed with the XQ1.)
fuji xq1 9.7mm 100iso f/4 10
And of course by cutting the ISO to 1/4 you get 4x the shutter speed. Still works perfectly.
So has the drop from DR400 to DR100 made a difference? I think so. While the drop in ISO has cleaned up the shadows and made everything look cleaner, the drop from DR400 to DR100 has added a bit of an edge to the lights. The blue on top middle is the best example … in the top two images, it goes from the light to the glow smoothly. Looks great in my opinion. In the bottom image, DR100 puts an edge around the light, essentially a harsh transition ring that is effectively a halo. It is visible in some of the other lights as well.
It always comes down to a tradeoff when you don’t have EXR support for dynamic range. You shoot at DR400 and your lowest ISO is 400. Can you stand the extra noise and edge destruction? Or do you prefer cleaner shadows and edges at the cost of less pleasant handling of highlights?
Your call … I tend to default to taking the pain and performing noise reduction. Nothing can save blown highlights after all … and in this case, the harsh rings around the lights are minor, but still visible. And I simply don’t like that effect.