The Fuji X10’s legacy for me will be a much deeper understanding of how the EXR sensors shoot in RAW, and of course a fairly good handle on how to process these images for best effect.
One thing that Fuji JPEG engines do well is color. But since I am not all that sensitive to specific colors, I don’t see that as much of a strength, except perhaps in some of the skin tones I’ve seen come from the Fujis.
On the other hand, I am extremely sensitive to tone and dimensionality. The more “3D” an image looks, the stronger my visceral reaction to it. The corollary is that I cannot stand images that have been over-processed … images where there is more fake data than real data.
Extreme example: Over sharpening. I have often critiqued images for being “crispy looking: in that I find halos around all objects to create a horrific effect that makes an image look like it was printed with a misaligned color separation process on shitty news print. For some reason, many people are not sensitive to that, but I feel revulsion.
This looks like:

The extra grain and halos on every branch do not belong there. They flatten the image down to a 2D parody of a photograph. Looking like a comic. I’ve seen more than a few images posted that have elements like this … some of the worst offenders came from the HS10 a while back. And that was bad processing, as I have shown with my winter images last year. The HS10 is capable of some very nice imagery.
The Fuji JPEG engines do not do this to this degree. But they do add some data … halos abound for example as soon as you hit standard sharpening on the X10. Below that, images look extremely soft. The only cure is ACR, and I found that it is still really easy to get halos for some reason. Edges just are not clean.
Not so with the F550EXR … in RAW, I can get razor sharp edges without halos, which is the goal. So let’s move on and compare the out of camera (OOC) JPEG with a RAW conversion, and with a third image that is a bit more processed.
I have three crops to show you, each comparing the OOC JPEG directly against the RAW conversion.
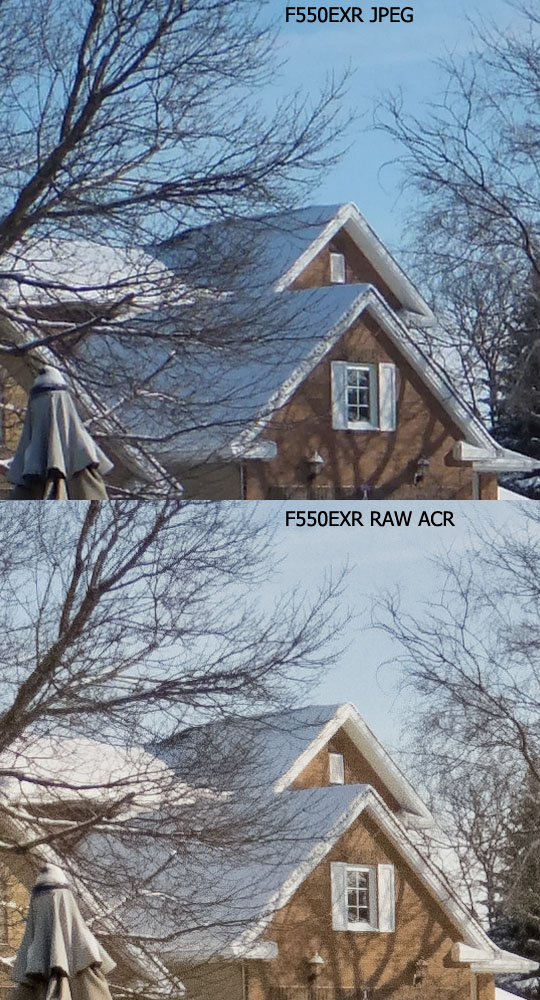
Some might think that the JPEG actually looks sharper because the halos give that initial impression. And monitors can get defocused such that the halos vanish, which is why halos are ok for print output. Ink bleed takes care of them and the image that is left looks sharp on paper. But the web is not paper, and halos stand out on most monitors, mitigating the dimensionality of the image. I.e. flattening it to 2D.
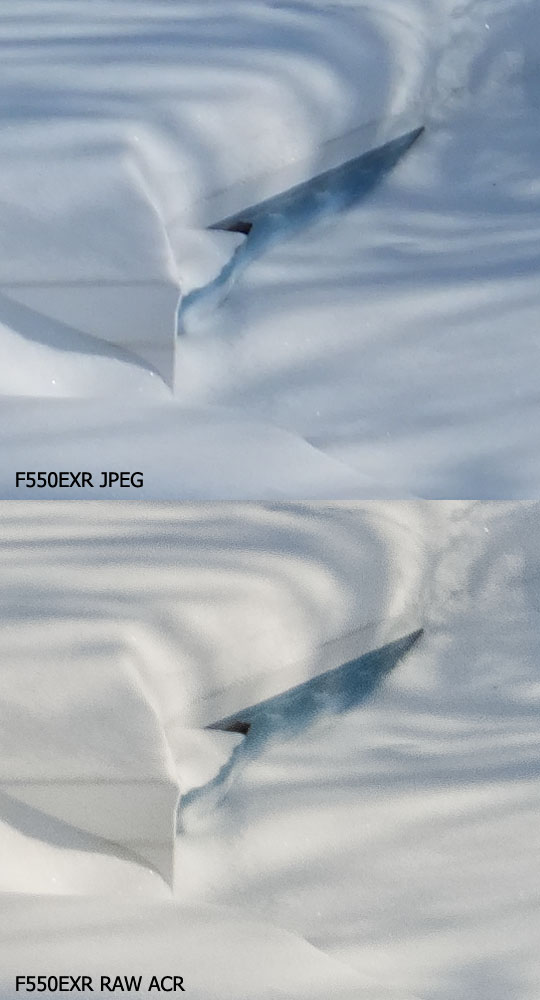
In this specific crop pair, you can see that I have struck a balance between noise and detail, with a very fine grained noise visible on surfaces. But that also allows very fine details to show through, and it does not add extra data to distract the eye.
You want the visceral reaction to be “liquid” … not “broken glass” …

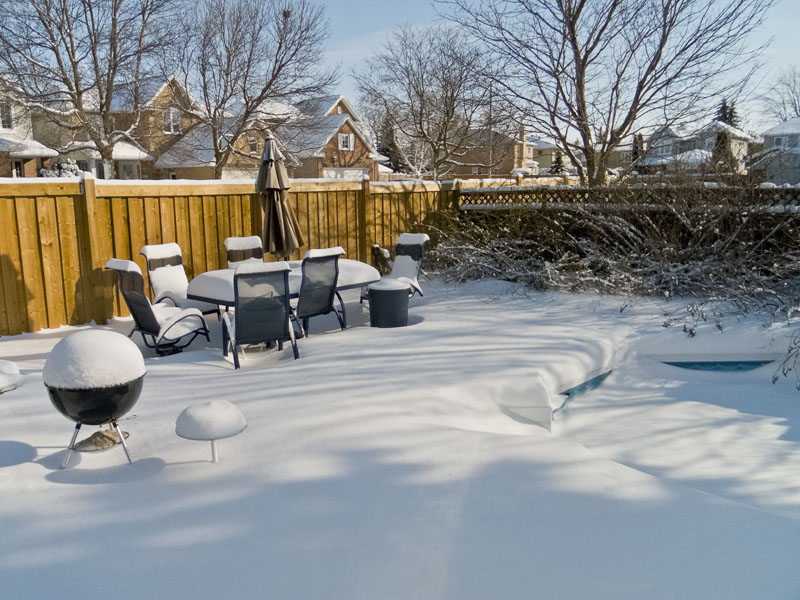
Here, the texture that has been lost really robs the image of important visual cues. The garbage bin might be made of plastic, but it still has some texture. The snow, chair and fence all have texture, yet these details are fine enough that the jpeg engine basically smooths them over. The edges are also problematic. Top of the chair and bottom of the table rail both have white and black halos to define the edges. This wide-band sharpening can be useful for certain kinds of output, and here it is not all that visible when you downsize, but that data is not there and when taken too far, it erodes the image’s credibility.
At least, in my opinion.
This last one just shows that texture can be very subtle. For the most part, the only different between these two is white balance. I really prefer the RAW image as it much better represents late afternoon sunlight. The Fuji jpeg engine is well known for fairly cool white balance. I find the F200 and X10 to be pretty bad in this respect, but the F550 has really cooled this image as well.
Note: In the comments, poster Andrew suggests that JPEG users can improve the white balance for the X10 using the fine tuning. And that’s exactly what I would do … throw a little extra warmth into every shot. Thanks Andrew.
Now, you could be forgiven if you consider this all just so much baloney. After all, once downsized, these images are all going to look pretty similar.
Perhaps.
Remember to click through on these, as the blog sized images have been processed by the Blogger software, and that tells you nothing.
JPEG Out of Camera

RAW Conversion in ACR
RAW Conversion in ACR plus CS5 Tweak to Tones

Actually, even at these tiny sizes, I think you get a better feeling of depth in the last two images. But that might just be me …